The professional plaque is much more than just a simple indicator of presence; it is the first physical point of contact between a lawyer and their future clients. In a sector where credibility and prestige are essential, installing a plaque for a law firm with care is a crucial step in branding. A poorly fixed plaque, crooked or made with low-quality materials, can send a negative signal about the seriousness of the practice. Conversely, impeccable signage reinforces the brand image and inspires trust right from the doorstep.
This detailed guide will accompany you through all the steps to install a professional plaque for a lawyer, from choosing the location to technical finishes, to ensure a result that matches your expertise.
Where to place your lawyer’s plaque?
The location of your plaque is governed by a mix of ethical rules, co-ownership constraints, and visibility logic. Before even taking out the drill, a strategic reflection on the placement is necessary.
At the entrance of the building (main location)
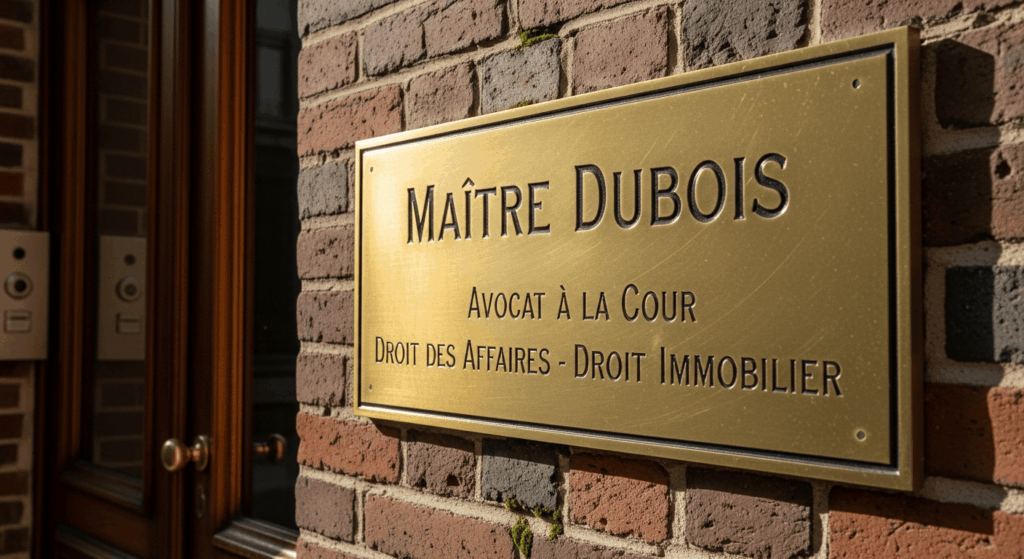
The classic and most effective location, after having purchased a plaque for a lawyer, is on the facade of the building, in immediate proximity to the entrance door or intercom. This location primarily serves to confirm to the client that they are at the right address. For a lawyer, this location should maintain a certain sobriety. It is recommended to align with existing plaques to maintain visual harmony, which contributes to an image of fraternity and professionalism.
If the building has an entrance hall, a second smaller plaque can be installed inside, near the mailboxes or elevator, to guide the visitor once the first obstacle has been crossed.
Co-ownership constraints
This is often where signage projects encounter their first obstacles. Most co-ownership regulations stipulate strict standards regarding the installation of a professional plaque for a lawyer. These rules may concern:
- Maximum dimensions (often 20 x 15 cm or 30 x 20 cm).
- Authorized material (brass is often required for prestige, or plexiglass for modernity).
- Method of fixing (some co-ownerships prohibit drilling into stone facades).
Before any installation, it is imperative to consult the property manager or the internal regulations to obtain written permission. Non-compliance with these standards may result in a forced removal request at your expense.
Case of a ground floor or upper floor office
The strategy differs depending on your direct visibility from the street. For a ground floor office with windows facing the public space, the plaque can be installed directly on the door frame or between two windows.
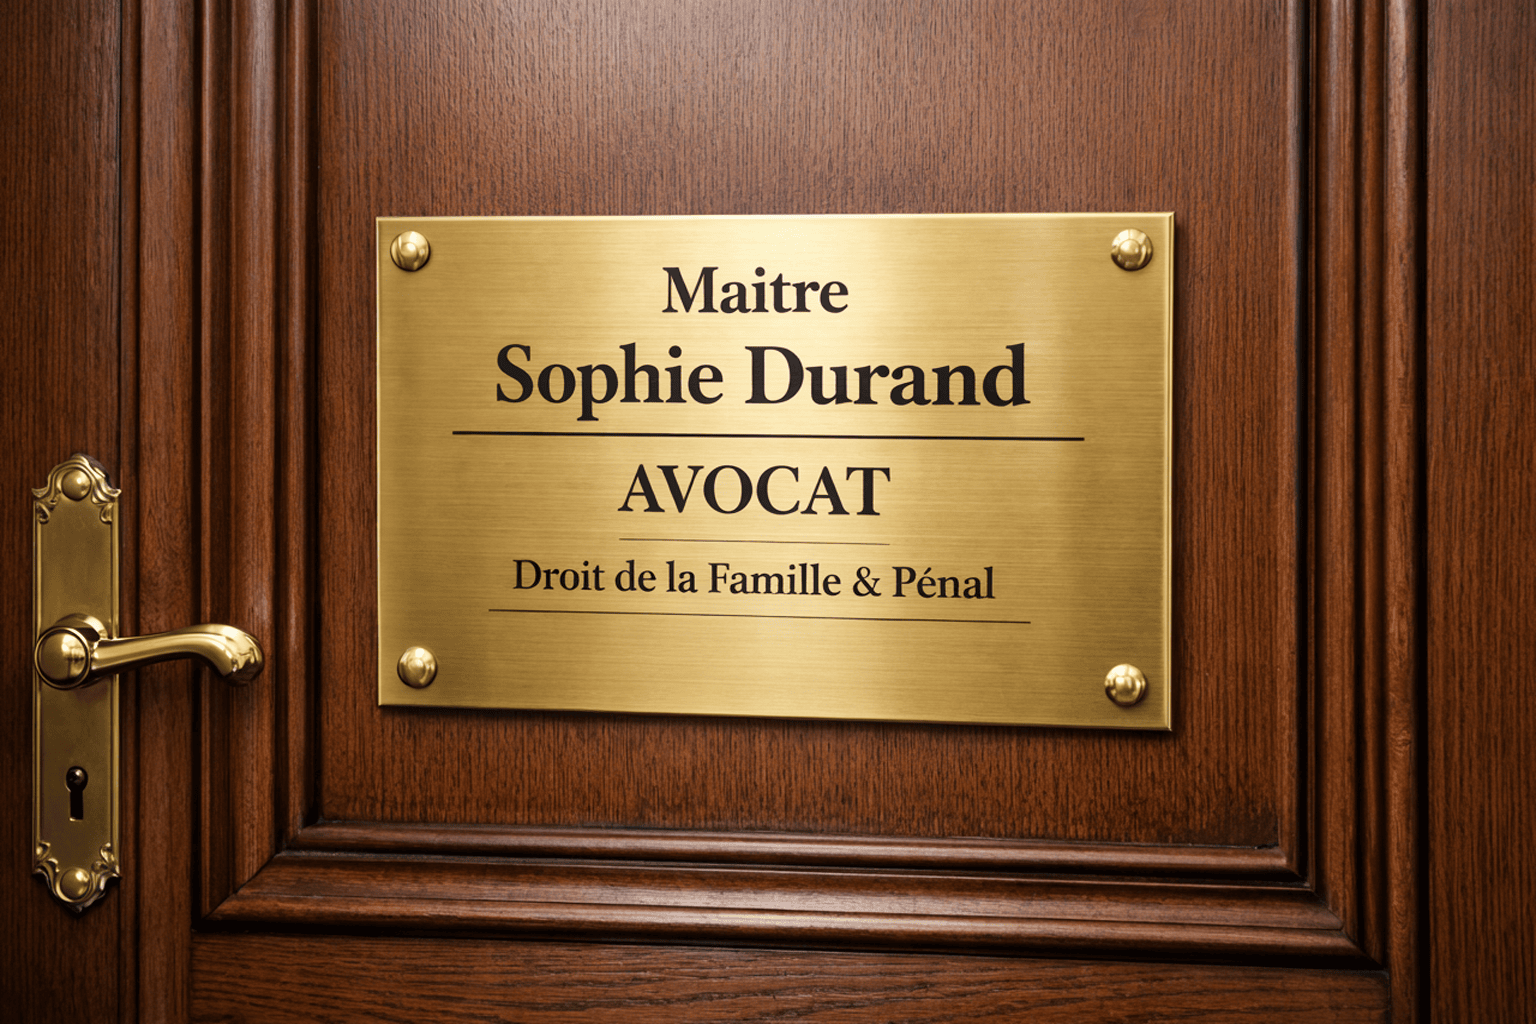
For an office located on an upper floor, the facade plaque becomes your only “showcase.” It is essential that it is perfectly legible. Inside the building, on the landing, the plaque should be fixed on the handle side of your office door, at eye level, for immediate identification before ringing.
Types of fixing for lawyer’s plaque
The choice of fixing system depends not only on aesthetics but also on the nature of the support (concrete, wood, stone, plaster) and the durability sought.
Brass screws and screw caps: the classic
This is the most traditional and robust method. It involves drilling the plaque at the four corners and screwing it directly into the wall. To hide unsightly screw heads, screw caps are used, typically made of brass or stainless steel. These accessories screw onto a specific base and offer a very elegant rounded or flat finish. It is the preferred choice for metal plaques (brass or aluminum) on stone or brick facades.
Stainless steel spacers: the elevated elegance
The spacer is a metal cylinder that creates a gap of a few centimeters between the wall and the plaque. This system creates a relief and transparency effect particularly appreciated for plexiglass or glass plaques. The play of shadows cast on the wall adds a high-end dimension to the signage. It is the ideal solution for a firm that wishes to project a modern, dynamic, and transparent image. Brushed stainless steel spacers are particularly resistant to outdoor corrosion.
Double-sided adhesive: quick solution
Using high-performance adhesive is an interesting option for small plaques installed indoors on smooth surfaces (wooden doors, glass partitions). However, for installing a plaque for a law firm outdoors, this solution is often discouraged due to temperature variations and humidity that can affect the glue. It remains useful for temporary plaques or to avoid drilling a historically valuable door.
Tutorial: installing a brass plaque with screws
Brass remains the standard of prestige for the profession. Here’s how to successfully install it step by step.
Necessary materials
For a successful installation, equip yourself with:
- Your brass plaque with its fixings.
- A drill-screwdriver.
- Drills suitable for your wall (concrete or wood drill).
- Quality plugs.
- A spirit level and a pencil.
- A soft microfiber cloth.
Marking and tracing with the spirit level
Do not rely solely on the naked eye. Hold the plaque against the wall at the desired location. Place the spirit level on the top edge. Once the plaque is perfectly horizontal, mark the four drilling points through the holes of the plaque with your pencil. Remove the plaque and check the alignment of the marking points again.
Drilling and plugging
Select a drill bit whose diameter exactly matches that of your plugs. Drill cleanly to a depth slightly greater than the length of the plug. Insert the plugs and ensure they do not protrude from the wall; they should be flush so that the plaque is not unstable.
Fixing and finishing with screw caps
Position the bases of the screw caps over the holes in the plaque, insert the screws, and screw them into the plugs. Do not tighten too much to avoid scratching the brass or straining the support. Finally, screw the screw cap heads onto their bases. A final wipe with a microfiber cloth to remove fingerprints, and your signage is ready.
Tutorial: installing a plexiglass plaque with spacers
Installation with spacers requires increased precision as the offset system does not forgive alignment errors.
Installation steps
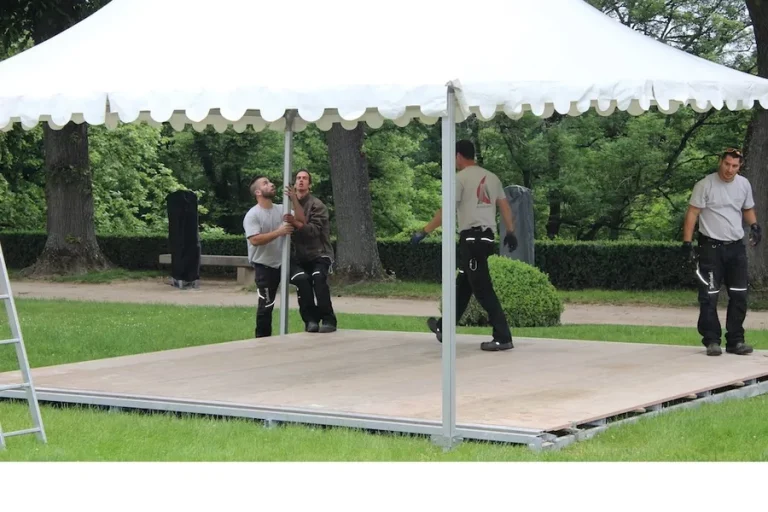
- Disassembly of the spacer: A spacer generally consists of a hollow body, a screwable head, and two transparent protective washers.
- Marking: As with the brass plaque, use the plaque as a template. Note that for plexiglass, the holes are often wider to allow for slight expansion of the material.
- Fixing the spacer bodies: First, screw the bodies of the spacers (the long cylindrical part) directly to the wall using the plugs.
- Mounting the plaque: Place a transparent washer on each spacer body. Position the plaque, place the second protective washer on top, then screw on the decorative heads. The washers are essential: they prevent direct contact between the metal and the plexiglass, which would prevent any cracking in case of tightening or thermal shock.
Recommended height and position
Reading ergonomics is a key factor for being easily found.
Standard height: 1.50 to 1.60 m from the ground
The golden rule for installing a professional plaque for a lawyer is to position the center of the plaque at eye level. For the majority of adults, this corresponds to an area located between 1.50 meters and 1.60 meters from the ground. If you are installing multiple plaques (a firm directory), the highest plaque should not exceed 1.80 m and the lowest should not be below 1 m to remain legible without effort.
Centering relative to the entrance
If the configuration allows, the plaque should be centered horizontally on the door frame or in the adjacent wall panel. Precise centering reinforces the feeling of order and rigor inherent to the legal profession. If you are installing next to an intercom, try to maintain equal spacing on each side for a balanced aesthetic.
Installation mistakes to avoid
Many installations lose effectiveness due to neglected details. Here’s what to avoid to ensure the longevity of your brand image:
- Neglecting prior cleaning: Before installation, ensure that the wall is clean. Drilling dust can settle between the plaque and the wall, creating oxidation marks over time, especially on transparent plaques.
- Using low-quality hardware: Screws that rust or plugs that fail after six months will ruin your investment. Prefer A2 stainless steel for outdoor use.
- Forgetting seals on uneven surfaces: On a very uneven stone wall, a plaque may experience tension. Using spacers is therefore far preferable to a “flat” installation that could warp the plaque.
- Lack of readability: A plaque that is too small with too much text is unreadable. Brand image relies on clarity: name, title, and possibly a specialization. Nothing more.
In conclusion, installing a plaque for a law firm is a complete act of communication. Whether you opt for the tradition of brass or the modernity of plexiglass, the quality of the installation must be impeccable. By following this tutorial and respecting the standards of your environment, you ensure your firm optimal visibility and a first impression of excellence.